Your Fresh On Demand DIY Wellness Bar: The 4 Easiest Herbs for Your Kitchen Counter
LEVEL UP YOUR LIFE -BENEFITSTHE KITCHEN CURE: GOOD FOOD, GOOD MOOD - NUTRITION
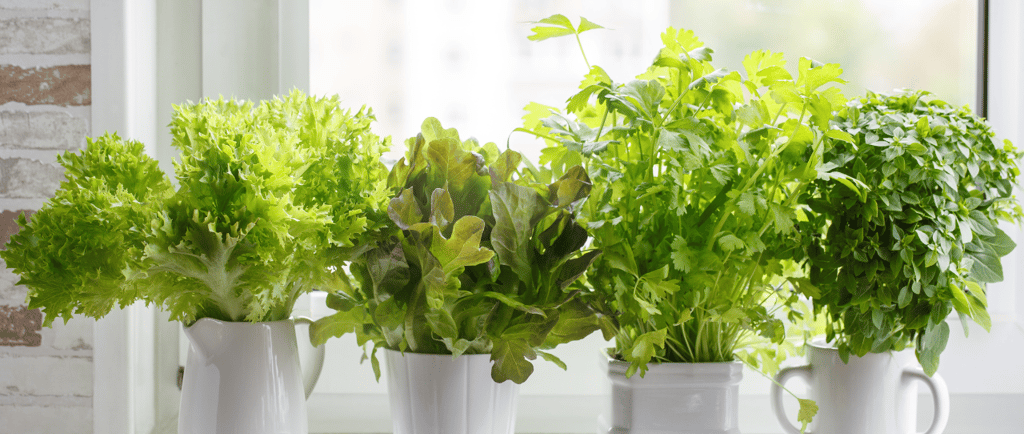
There’s a special kind of excitement in snipping fresh herbs you’ve grown yourself. It’s a small but profound act of stewardship—nurturing life to nurture your own. It's a connection to nature. It's a rewarding hobby that adds incredible flavor and health benefits to your meals.
But maybe you think you have a "black thumb." I get it. That's why we're starting with the most forgiving, resilient herbs that even a beginner can handle. You don't need a huge garden; a small pot on a sunny windowsill is all it takes to get started.
Here are 4 easy-to-grow herbs to start your beginner garden:
Mint: This stuff is practically indestructible. It grows fast and vigorously. Perfect for teas, adding to water, or making a fresh mojito. Just keep it in its own pot, or it will take over everything!
Basil: The scent of summer! Basil loves the sun and regular watering. Pinching off the top leaves encourages it to grow bushier. Perfect for pesto, pasta sauces, and salads.
Rosemary: This woody herb loves sun and dislikes being overwatered. It’s packed with antioxidants and adds a wonderful pine-like flavor to roasted chicken, potatoes, and vegetables.
Chives: A mild onion flavor that’s perfect for sprinkling over eggs, potatoes, and salads. Chives are very low-maintenance and will come back year after year.
Starting an herb garden is a simple way to elevate your cooking, boost your nutrient intake, and connect with your food. It's a beautiful step in becoming Rich in Wellness.
How to Get Started: Your Step-by-Step Guide
Ready to get your hands a little dirty? It’s easier than you think. Following these simple steps will set you up for success and have you harvesting in no time.
Step 1: Gather Your Supplies. You’ll need pots (4-6 inches wide is a great start), a bag of good-quality potting mix, and your plants. For true "can't-kill" success, we recommend buying small "starter" plants from a local nursery instead of starting from seeds.
Step 2: Find the Perfect Spot. Most herbs love light. Find a windowsill or a spot on your kitchen counter that gets at least 4-6 hours of direct sunlight each day. This is their fuel for growth!
Step 3: Pot Your New Friends. Fill your pot about two-thirds full with potting mix. Gently remove your herb from its plastic nursery container and place it in the new pot. Add more soil around the sides until it's secure. Don't pack the soil down too tightly; you want the roots to have room to breathe.
Step 4: Give Them a Welcome Drink. Water your newly potted herbs thoroughly until you see water run out of the drainage holes at the bottom. This helps settle the soil and gets them off to a great start.
Keeping the Green Alive: Simple Maintenance
Your garden is planted! Now what? The beauty of these herbs is that they don’t ask for much.
Watering: This is where most beginners go wrong. The golden rule is to check the soil first. Stick your finger about an inch deep. If the soil feels dry, it’s time to water. If it’s damp, wait another day or two. Remember that rosemary prefers to be a bit drier than basil or mint.
Sunlight: Keep them in that sunny spot. If you notice your plants are stretching or looking pale, they might be asking for a little more light.
Harvesting (The Best Part!): The more you trim your herbs, the more they’ll grow! Don’t be shy. Regular snipping encourages the plant to become bushier and more productive. It’s a beautiful cycle—the plant gives to you, and in taking from it, you help it thrive.
Pro-Tips for a Thriving Windowsill Garden
Want to take your plant-parent skills to the next level? Keep these little tricks in mind.
Drainage is Non-Negotiable: Make sure every pot you use has holes in the bottom. Herbs hate sitting in soggy soil, and drainage holes prevent their roots from drowning.
Give Them a Haircut: Regularly pruning your herbs—even when you don’t need them for a recipe—keeps them healthy and compact. For basil, pinch off the top sets of leaves right above a leaf node to encourage it to grow out, not just up.
Rotate Your Pots: Give your pots a quarter turn every few days so that all sides of the plant get equal sun exposure. This prevents them from leaning in one direction.
Listen to Your Plants: They will tell you what they need. Yellowing leaves? It could be too much water. Wilting or crispy leaves? It could be too little. Observing them is part of the joy and connection.
Ready for More? Other Greens to Grow
Once you’ve built your confidence with the "can't-kill" four, you might feel the urge to expand your indoor farm. The same techniques you’ve learned can be used for a variety of other delicious and healthy plants.
Other Easy Herbs: Try your hand at thyme, oregano, or parsley. They are also very forgiving and grow wonderfully in pots.
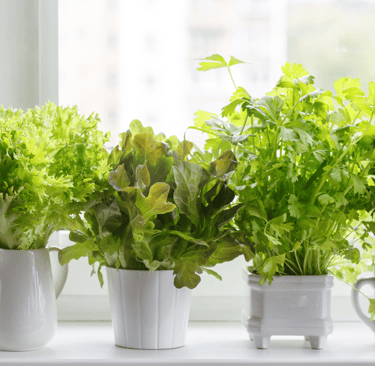
Leafy Greens: You can easily grow "cut-and-come-again" lettuces like leaf lettuce, arugula, and spinach in a long window box. Simply snip the outer leaves as you need them, and the plant will continue to produce from the center.
Microgreens: These are the seedlings of vegetables and herbs, and they are a nutritional powerhouse. They are incredibly easy and fast to grow on a windowsill—you can go from seed to harvest in less than two weeks!
Your windowsill can be a vibrant, edible landscape. Each new plant is another step on your wellness journey, bringing fresh, living energy right into your kitchen.